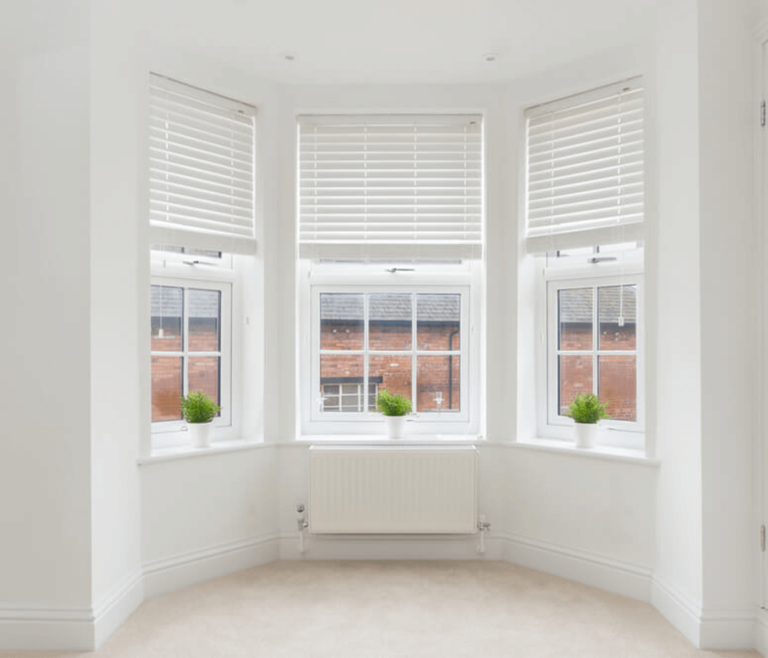
Wallpapering around a window can initially seem like a difficult job, especially when you’re aiming for that seamless finish that ties the room together. However, with the right approach and a bit of patience, anyone can get it done. In this guide, we’ll walk you through the steps to wallpaper around a window, ensuring you feel confident to tackle the job yourself. Let’s get into it.
Wallpapering Around Windows – Step by Step
Wallpapering around windows is a skill that can elevate the look of any room, adding depth and character. Whether you’re refreshing an old space or putting the finishing touches on a new one, mastering this technique will allow you to achieve a polished look. Let’s break down the process into manageable steps.
1) Preparation is Key
Before you start, make sure your workspace is clean and clear. Gather all necessary tools and materials, including a sharp craft knife, wallpaper scissors, wallpaper paste, a plumb line or spirit level, a tape measure, a paintbrush or roller, a wallpaper brush, a seam roller, and a clean damp cloth. If your walls have seen better days, take the time to fill in any gaps and sand down imperfections for a smooth base.
2) Measure and Cut
Start by measuring the area around your window. It’s important to allow extra wallpaper for the parts that will fold into the window recess. If your window lacks a recess, simply adjust the measurements to ensure the wallpaper covers the desired area without excess.
3) Apply the First Drop
Begin at one side of the window, applying your first strip of wallpaper from the top down. When you reach the window recess, make horizontal cuts at the top and bottom, creating a flap that can be folded inwards. Smooth this flap against the window frame, trimming any excess for a neat finish.
4) Tackle the Top and Below
For the area above the window, align the pattern of your next wallpaper strip with the first, folding any excess into the recess and trimming as needed. Repeat this process for the area below the window, ensuring the wallpaper aligns perfectly with the rest of the room.
5) Fill in the Gaps
Depending on the size of your window, you might need to fill in small gaps in the recess with offcuts. Ensure these pieces match the pattern of your wallpaper, applying them carefully to maintain the seamless look.
6) Finishing Touches
Once all parts of the window are covered, go over the edges with a seam roller to secure the wallpaper in place. Wipe away any excess paste with a damp cloth for a clean, professional finish.
Achieve Perfection with Plan-it
Wallpapering around a window doesn’t have to be a task reserved for professionals. With the right tools and a bit of patience, you can achieve a stunning result that brings your room to life. However, if you’re planning a more significant renovation or need help with high-quality window installations, swing by our window and door showroom in Bolton! Discover our wide selection firsthand and chat with our welcoming team. They’re ready to address all your queries. Serving Bolton, Bury, and the Manchester area, we’re excited to assist in enhancing your home.


 Download our Casement Windows Brochure
 Download our Flush Sash Windows Brochure
 Download our Bifold Door Brochure
 Download Our Rockdoor Brochure
 Download our tiled roofs brochure